
How to Use a Heavy Bag for Fitness: Cardio, Strength, and Technique
A heavy bag is one of the most efficient full-body fitness tools you can train with. One 30-minute session can burn 300–500 calories depending on your body weight and intensity, and unlike a treadmill, it builds power, coordination, and mental focus at the same time. The short answer: yes, you can absolutely use a heavy bag for fitness, whether you’ve never thrown a punch or you’re looking to sharpen a serious training routine.
Here’s a quick 10-minute starter session you can try today:
- Round 1 (3 min): Jabs and crosses only, focus on stance and guard return
- Round 2 (3 min): Add hooks, move your feet between combinations
- Rest (1 min): Walk it out, breathe
- Round 3 (3 min): Mix all three punches, exhale on every strike
That’s it. Three rounds, no experience required. The rest of this guide covers everything you need to do it safely, progress it intelligently, and turn it into a real fitness routine.
Table of Contents
- Why does heavy bag training work so well for fitness?
- What gear do you actually need before hitting the bag?
- How do you punch correctly and move around the bag?
- Sample heavy bag workouts you can use right now
- How to warm up, cool down, and avoid common injuries
- How to build a 4-week heavy bag program
- Fixing the most common problems with bag training
- What Level Up Gym coaches want you to know before you start
- Key Takeaways
- The case for slowing down before you speed up
- Start with coached guidance at Level Up Gym
- Sources and further reading
- FAQ
Why does heavy bag training work so well for fitness?
The bag trains your body in ways most cardio equipment simply can’t replicate. When you throw a punch correctly, power starts at your feet, travels through your hips, rotates through your torso, and exits through your fist. That full kinetic chain means your legs, glutes, core, shoulders, and back all work every session, not just your arms.
The primary fitness outcomes you can expect:
- Cardiovascular conditioning: The stop-and-go nature of bag work creates mixed aerobic and anaerobic stimulus that builds endurance faster than steady-state cardio for many people
- Full-body strength and power: Rotational core strength, hip drive, and shoulder stability all develop through consistent punching
- Coordination and balance: Footwork, guard position, and punch timing train your nervous system in ways a weight machine never will
- Calorie burn and fat loss: Use the calories burned boxing calculator to estimate your personal output per session
- Stress relief: Focused bag work functions almost like moving meditation; many people report a significant mood lift after even a short session
The mental health angle is real too. Research supports the mood-boosting effect of bag sessions, and Level Up Gym’s coaches see it consistently: members who start for weight loss often stay for how training makes them feel. For a deeper look at that connection, the mental health and fitness link article covers the science behind boxing-style training and mood.
What gear do you actually need before hitting the bag?
You don’t need much, but what you do need matters. Skipping hand protection is the fastest route to a wrist or knuckle injury that sidelines you for weeks.
Gloves and hand wraps
For most adults, properly weighted gloves are the right starting point. Lighter gloves (8–10 oz) are for competition; heavier ones (18 oz) are for sparring. For bag work, 12–16 oz gloves are the standard recommendation for most adults. Always wrap your hands before every session, no exceptions. Wraps protect your wrists, thumbs, and knuckles from the cumulative stress of repeated impact.
Bag weight and height
A moderately weighted bag works well for most beginners. Heavier bags (100+ lbs) swing less and absorb harder shots, which is useful as you get stronger. Set the bag so its head area sits at roughly your eye level. Too high and you’ll overreach on every jab; too low and you’ll hunch forward. Both patterns create chronic shoulder and back strain over time.
At-home setup considerations
- Ceiling mount vs. free-standing: Ceiling mounts give a more realistic swing and are more durable long-term; free-standing bags are easier to install and move but tip if you hit them off-center
- Noise and sway: A swinging bag on a ceiling mount transfers vibration through the structure. Use a heavy-duty swivel and consider rubber matting under your feet
- Space: You need roughly a 6-foot radius clear around the bag to move properly
Safety checklist before you start
- Wraps on, gloves on, every time
- Wrists straight on impact, never bent
- Start at moderate power for the first few weeks
- Stop immediately if you feel sharp pain in your wrist, shoulder, or knuckles
- Avoid daily max-effort sessions early; connective tissue adapts slower than muscle
Pro Tip: Condition your knuckles gradually. Don’t use a bare-fist approach early. Consistent gloved training over 4–6 weeks naturally toughens the skin and underlying tissue. Rushing that process leads to cuts and bruising that interrupt your training.
How do you punch correctly and move around the bag?
Technique is where most beginners lose fitness value and gain injury risk at the same time. The fix is simple: slow down, build the pattern, then add power.
The basics, in order
- Stance: Feet shoulder-width apart, lead foot forward (left for orthodox, right for southpaw), knees soft, weight balanced 50/50. Hands up, chin down.
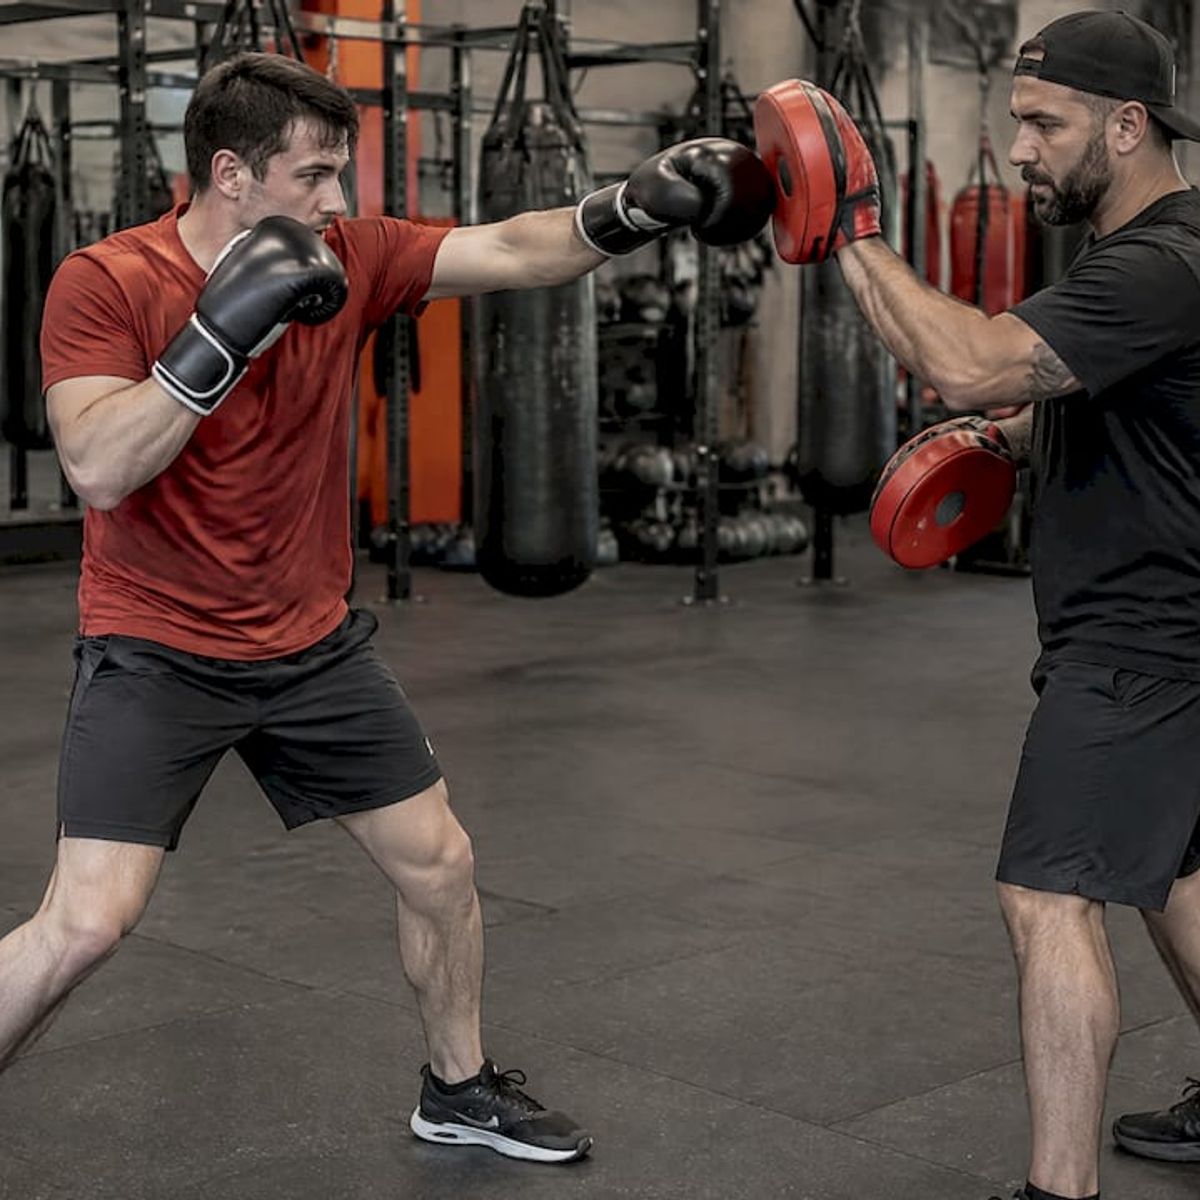
- Jab: Lead hand shoots straight out, rotate the fist to land knuckles-first, snap back immediately. The snap is the point. A punch that stays extended is a push.
- Cross: Rear hand drives forward as the rear hip rotates forward. The power comes from that hip turn, not the shoulder. Snap back to guard.
- Hook: Lead elbow rises to shoulder height, pivot the lead foot, rotate the torso. The arm follows the body, not the other way around.
- Uppercut: Drop the rear shoulder slightly, drive upward with hip extension, fist travels vertically. Short and sharp.
Footwork
Standing still is one of the most common beginner errors. When you plant your feet and just swing, you’re doing forearm cardio, not boxing. Circle the bag after every combination: step left, step right, pivot out. Move in to throw, move out to reset. That movement is what engages your legs and core and makes the session a full-body workout.
Breathing
Exhale sharply on every punch. Short, controlled exhales on impact help you brace your core and maintain rhythm through a round. Don’t hold your breath during combinations. Between combinations, breathe in through the nose, out through the mouth.
Common mistakes and quick fixes
- Pushing the bag instead of snapping: Power comes from kinetic transfer and a sharp snap, not from leaning into the bag. If the bag is swinging wildly, you’re pushing.
- Hands dropping between punches: Return to guard after every shot. Letting hands drop is a habit that’s hard to break later.
- Hitting too hard too early: Ego-driven power before your wrists and tendons are conditioned is the primary cause of early injuries.
- Wrong bag height: If you’re reaching up or crouching down, adjust the bag before the next session.
For a solid foundation in movement before you touch the bag, the shadow boxing beginner’s guide is worth 10 minutes of your time.
Sample heavy bag workouts you can use right now
These three templates scale by fitness level. Pick the one that fits where you are today, not where you want to be in six weeks.
Beginner: 3-round technique builder
Beginners do best with short rounds and rest intervals, keeping total volume low while technique is still forming.
- Round 1: Jab-cross only, focus on stance and guard return (3 min)
- Rest: 1 minute, walk and breathe
- Round 2: Jab-cross-hook, add footwork between combinations (3 min)
- Rest: 1 minute
- Round 3: Free work, mix all punches, keep moving (3 min)
Total time: ~11 minutes. Do this 2–3 times per week for the first month.
Intermediate: 20-minute conditioning session
RoundDurationRestFocusSample Drill
1
3 min
1 min
Technique warm-up
Jab-cross, slow pace, guard return
2
3 min
1 min
Footwork + combos
Circle bag, 3-punch combos, pivot out
3
3 min
1 min
Power development
Cross-hook-cross, full hip rotation
4
3 min
1 min
Conditioning
Fast jabs, non-stop for 90 sec, then combos
5
3 min
1 min
Anaerobic push
10-second burst, 20-second movement, repeat
Advanced: 30-minute anaerobic test
RoundDurationRestFocusSample Drill
1–2
3 min each
—
Technique activation
Full combo sequences, clean mechanics
3–4
3 min each
—
Power rounds
Max-intent crosses and hooks, full kinetic chain
5–6
3 min each
30 sec
Density work
Non-stop combinations, no pause
—
2 min
60 sec
Finisher
10-sec all-out burst, 10-sec rest, repeat
Progression options: Shorten rest by 15 seconds every two weeks, add one round per week, or increase power rounds from one to three as conditioning improves.
For a detailed fat-loss-focused approach to structuring these sessions, the boxing workout for fat loss guide breaks down calorie-optimized programming.
How to warm up, cool down, and avoid common injuries
A 5-minute warmup before bag work isn’t optional. Cold muscles and stiff wrists under impact is a reliable injury recipe.
Pre-session warmup sequence (5–8 minutes)
- Joint circles: Wrists, elbows, shoulders, hips, ankles. 10 rotations each direction.
- Dynamic hip and ankle drills: Hip circles, leg swings, ankle rolls. 30 seconds each.
- Light shadowboxing: 2 minutes at 30–40% intensity. No bag, just movement and breathing.
- Rotator cuff activation: Band pull-aparts or arm circles with light resistance. 15 reps.
- Glute activation: 10 bodyweight squats or lateral band walks to prime hip drive.
Post-session cooldown
- Thoracic mobility: foam roll the upper back for 60–90 seconds
- Wrist and forearm stretches: extend the arm, pull fingers back gently, hold 20 seconds each side
- Shoulder cross-body stretch: 30 seconds each side
- 2–3 minutes of slow walking to bring heart rate down
Injury red flags — stop immediately if you notice:
- Sharp or shooting pain in the wrist or shoulder during a punch
- Persistent knuckle pain that doesn’t ease between rounds
- Numbness or tingling in the fingers
- Any joint pain that worsens as the session continues
Most trainers recommend 2–3 bag sessions per week for beginners to give connective tissue time to adapt. Muscle recovers faster than tendons and ligaments. That gap is where overuse injuries happen.
How to build a 4-week heavy bag program
Random bag sessions produce random results. A simple structure makes the difference between spinning your wheels and actually getting fitter.
Frequency and load rules
Start with 2 sessions per week for weeks 1–2. Add a third session in week 3 if recovery feels solid. Reach 3–4 sessions per week only after 6–8 weeks of consistent training. The aerobic vs. anaerobic training breakdown explains why this progression matters for energy system development.
4-week beginner plan
- Week 1: 2 sessions, beginner 3-round template, technique focus only. No power rounds.
- Week 2: 2 sessions, add one round to each session, introduce footwork drills.
- Week 3: 3 sessions, move to intermediate template, add one power round per session.
- Week 4: 3 sessions, shorten rest by 15 seconds, track rounds completed and perceived exertion.
What to track
MetricHow to measureWhat it tells you
Rounds completed
Count per session
Volume and endurance trend
Heart rate zones
Wearable or manual check
Cardiovascular adaptation
Perceived exertion (1–10)
Self-rating after each round
Recovery and readiness
Technique checklist
Guard return, snap vs. push, footwork
Skill quality
Body composition
Weekly weight or measurements
Fat-loss and muscle response
When to increase volume vs. intensity: If your perceived exertion drops below 6/10 on your hardest round, add a round or shorten rest. If it stays above 8/10 for two consecutive sessions, hold volume and let conditioning catch up before adding more. A deload week (cut volume by 40%) every 4–5 weeks prevents accumulated fatigue from flattening your progress.
For a week-by-week look at what the first month of boxing training actually feels like, your first month of boxing is a useful companion read.
Fixing the most common problems with bag training
Most issues beginners hit are predictable and fixable fast.
- Wrists hurt after sessions: Re-wrap tighter, especially around the wrist joint. Reduce punch intensity to 50–60% until the pain clears. If it persists beyond a week, see a sports medicine professional.
- Running out of gas after one round: Your conditioning isn’t the problem; your pace is. Slow down the combination speed, breathe on every punch, and use active rest (light footwork) instead of standing still between rounds.
- Standing in one spot: Set a rule: after every combination, take two steps. Left, right, pivot, whatever. Just move. Staying stationary turns bag work into forearm endurance training and removes most of the fitness benefit.
- Bag swinging too much: You’re pushing, not snapping. Drill the jab in isolation: throw it at 40% power and focus on the retraction speed. The snap back is where the technique lives.
- Plateauing after 4–6 weeks: You’ve adapted to the stimulus. Add a round, shorten rest, or introduce a new punch combination you haven’t drilled before.
Pro Tip: If your form breaks down mid-round, drop to 30% power for 30 seconds and reset. Practicing bad mechanics at high intensity just grooves the wrong pattern deeper. Quality reps beat exhausted reps every time.
When to get coached help: if wrist or shoulder pain persists across multiple sessions, or if your technique isn’t improving despite consistent practice, a few sessions with a qualified coach will save you months of frustration. That’s exactly the kind of correction Level Up Gym’s coaches handle in the beginner onramp.
What Level Up Gym coaches want you to know before you start
The coaching team at Level Up Gym has worked through these same progressions with hundreds of beginners. A few things stand out consistently.
The beginner onramp at Level Up Gym runs 6 weeks and covers exactly the progression this article describes:
- Weeks 1–2: Stance, guard, jab-cross mechanics, and bag setup fundamentals
- Weeks 3–4: Hook and uppercut introduction, footwork patterns, breathing cues
- Weeks 5–6: Combination building, interval structure, and introduction to hybrid strength work
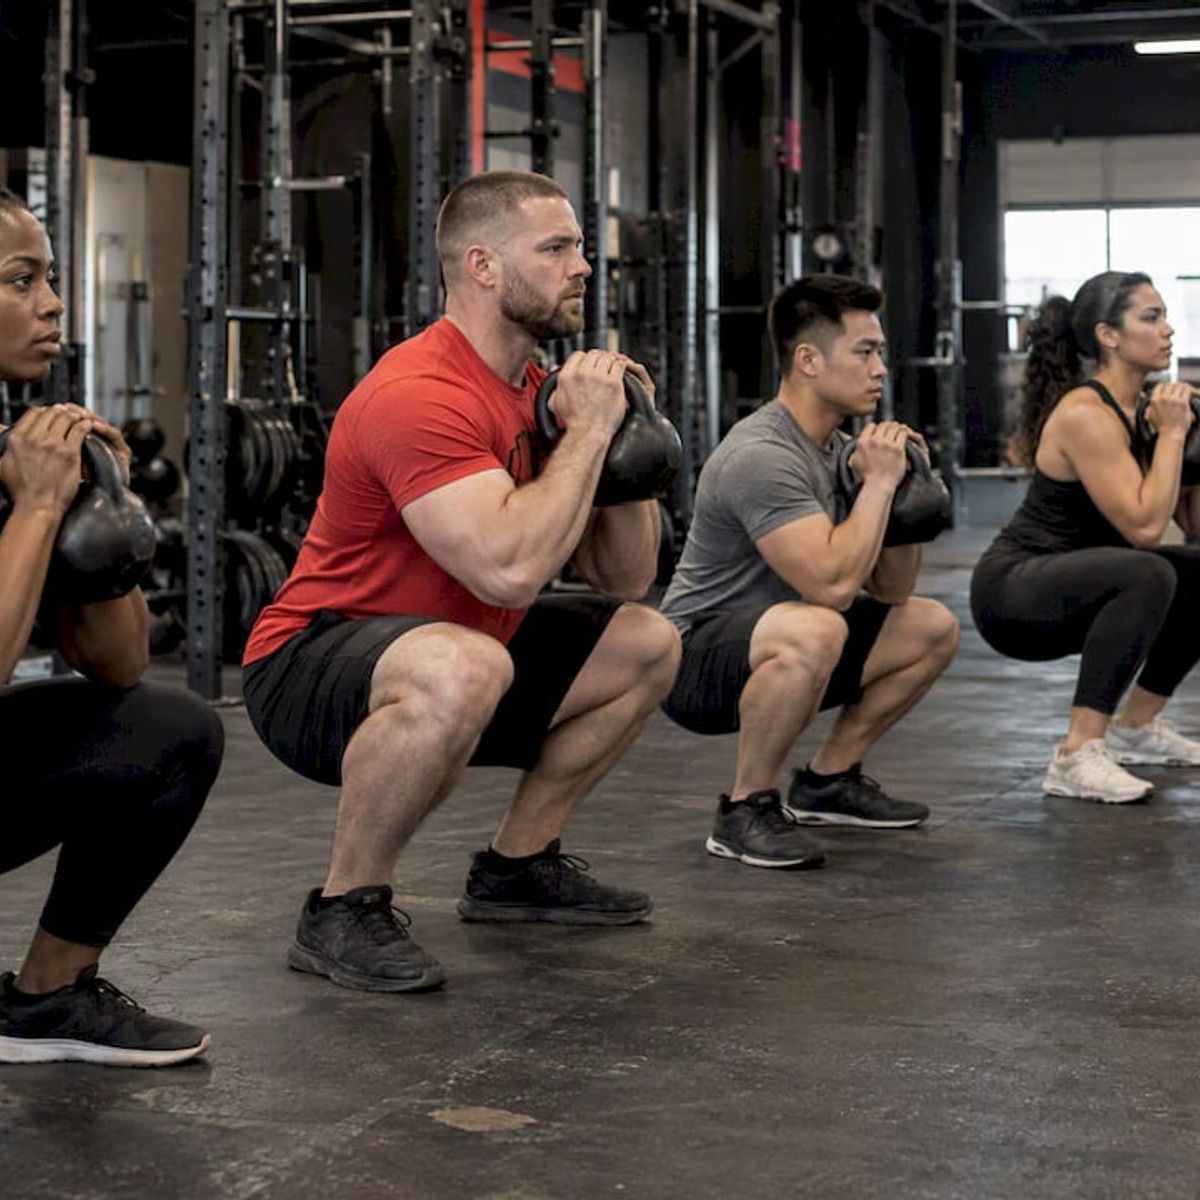
The hybrid class structure at Level Up Gym pairs bag rounds with complementary strength and conditioning work, so members aren’t just building punching endurance in isolation. Bag work improves when your hip hinge is stronger, your core is more stable, and your shoulder girdle is conditioned. The program is built around that connection.
For anyone training at home, the contact sport safety and gym protocols guide covers the safety standards Level Up Gym applies in-gym, most of which translate directly to home setups.
Gear matters too. If you’re setting up at home, training in the right apparel makes a real difference for high-intensity sessions. The high-intensity workout apparel guide covers what to look for in clothing that holds up to bag work.
Key Takeaways
A heavy bag builds cardio, full-body strength, and coordination simultaneously, making it one of the most time-efficient fitness tools available when used with proper technique and structured progression.
PointDetails
Protect your hands every session
Use appropriate-weight gloves and wrap your hands before every bag workout, no exceptions.
Set the bag at eye level
The bag’s head area at eye level prevents shoulder and back strain from overreaching or hunching.
Start at 2–3 sessions per week
Connective tissue adapts slower than muscle; 2–3 weekly sessions lets tendons and wrists keep pace.
Move your feet constantly
Circling and pivoting after every combination engages your full kinetic chain and multiplies fitness value.
Level Up Gym’s 6-week onramp
The beginner program at Level Up Gym in Stratford and Bridgeport, CT builds technique, conditioning, and hybrid strength in a structured coach-led sequence.
The case for slowing down before you speed up
Most people who pick up a heavy bag for the first time do the same thing: they swing hard, get tired fast, and wonder why they’re not improving. The bag rewards patience in a way that most fitness equipment doesn’t.
The “form precedes force” principle isn’t just a safety slogan. It’s a description of how adaptation actually works. Your nervous system needs to groove the correct movement pattern before your muscles can express power through it efficiently. Rushing that process doesn’t just risk injury; it actively slows your progress because you’re training the wrong mechanics at high intensity.
What the research and coaching experience both point to is a simple truth: the people who get the most out of bag training are the ones who treat the first 4–6 weeks as a skill-acquisition phase, not a conditioning phase. The conditioning follows automatically once the technique is there. You can’t separate them cleanly, but you can prioritize one over the other, and technique should win early.
The hybrid approach at Level Up Gym reflects this. Bag work doesn’t exist in isolation from strength training, mobility work, or recovery. It’s one tool in a system, and it works best when the rest of the system supports it.
Start with coached guidance at Level Up Gym
If you’re in Fairfield County and want to skip the trial-and-error phase, Level Up Gym’s 6-week beginner onramp gives you exactly what this article describes, with a coach watching your form in real time.
The onramp covers bag technique, footwork, breathing, and foundational strength work across six structured weeks; no prior boxing experience is required. Sessions run at both the Stratford and Bridgeport locations, and no long-term contract is needed to start.
What to bring to your first class: comfortable athletic shoes, water, and a willingness to go slow. Wraps and gloves are available if you don’t have your own yet.
Local readers near Stratford can check the Stratford location page for class times and availability. If fat loss is your primary goal, the weight loss program in Stratford combines bag work with nutrition coaching and hybrid training in one package. Book a trial class and see what a coached session feels like before committing to anything.
Sources and further reading
The claims in this article draw from the following sources. Use them for deeper reading on technique, programming, and safety.
External sources:
- Heavy Bag Workout: A Complete Beginner Guide — glove/wrap recommendations, footwork principles, beginner round structure
- Is Punching a Heavy Bag Good for You? — calorie burn data, kinetic chain mechanics, mental health benefits
- Heavy and Punching-Bag Workouts: The Expert’s Guide (Onnit) — anaerobic conditioning benefits, Andrew Craig insight
- The Safest Way to Start Punchbag Training at Home — bag height and home setup guidance
- 10 Tips for Heavy Bag Training the Right Way — punch mechanics, snap vs. push correction
- Boxing Heavy Bag Workout: The Complete Guide (Spartans Boxing) — frequency recommendations for beginners
Level Up Gym internal resources:
ResourceBest for
Boxing Workout for Fat Loss Guide
Calorie-focused programming
Shadow Boxing Beginner’s Guide
Warmup and technique foundation
Calories Burned Boxing Calculator
Personalized calorie estimates
Your First Month of Boxing
Week-by-week beginner expectations
Aerobic vs. Anaerobic Training
Energy system programming rationale
FAQ
How many calories does a heavy bag workout burn?
A 30-minute heavy bag session burns roughly 300–500 calories depending on body weight and intensity. Use the Level Up Gym calories burned boxing calculator for a personalized estimate.
What gloves should beginners use for bag training?
12–16 oz gloves are the standard recommendation for most adults doing bag work. Always pair them with hand wraps to protect your wrists and knuckles.
How often should you train on the heavy bag each week?
Start with 2–3 sessions per week for the first 4–6 weeks. Connective tissue adapts more slowly than muscle, and that gap is where most early injuries happen.
Is heavy bag training good for cardio?
Yes. The stop-and-go nature of bag rounds creates a mixed aerobic and anaerobic stimulus that builds cardiovascular endurance effectively, often more so than steady-state cardio for people who respond well to interval-style training.
Can beginners train on a heavy bag at home without a coach?
You can start at home using the technique basics and beginner template in this article, but coached feedback accelerates progress and prevents bad habits from forming. Level Up Gym’s 6-week beginner onramp in Stratford and Bridgeport, CT is built specifically for adults starting from zero.
Recommended
- Shadow Boxing Workout: A Complete Beginner’s Guide — Level Up Gym | Level Up Gym
- How to Combine Cardio and Weight Training Effectively — Level Up Gym | Level Up Gym
- How to Balance Strength and Cardio Sessions Effectively — Level Up Gym | Level Up Gym
- The Mental Health and Fitness Link: Boxing and Hybrid Training — Level Up Gym | Level Up Gym